Tenant Data Isolation: Patterns and Anti-Patterns
Explore effective patterns and pitfalls of tenant data isolation in multi-tenant systems to enhance security and compliance.
Jul 30, 2025
Read More
Linting React code ensures cleaner, more reliable, and consistent codebases. It helps catch errors, enforce coding standards, and improve collaboration, especially in team projects. Here's what you need to know:
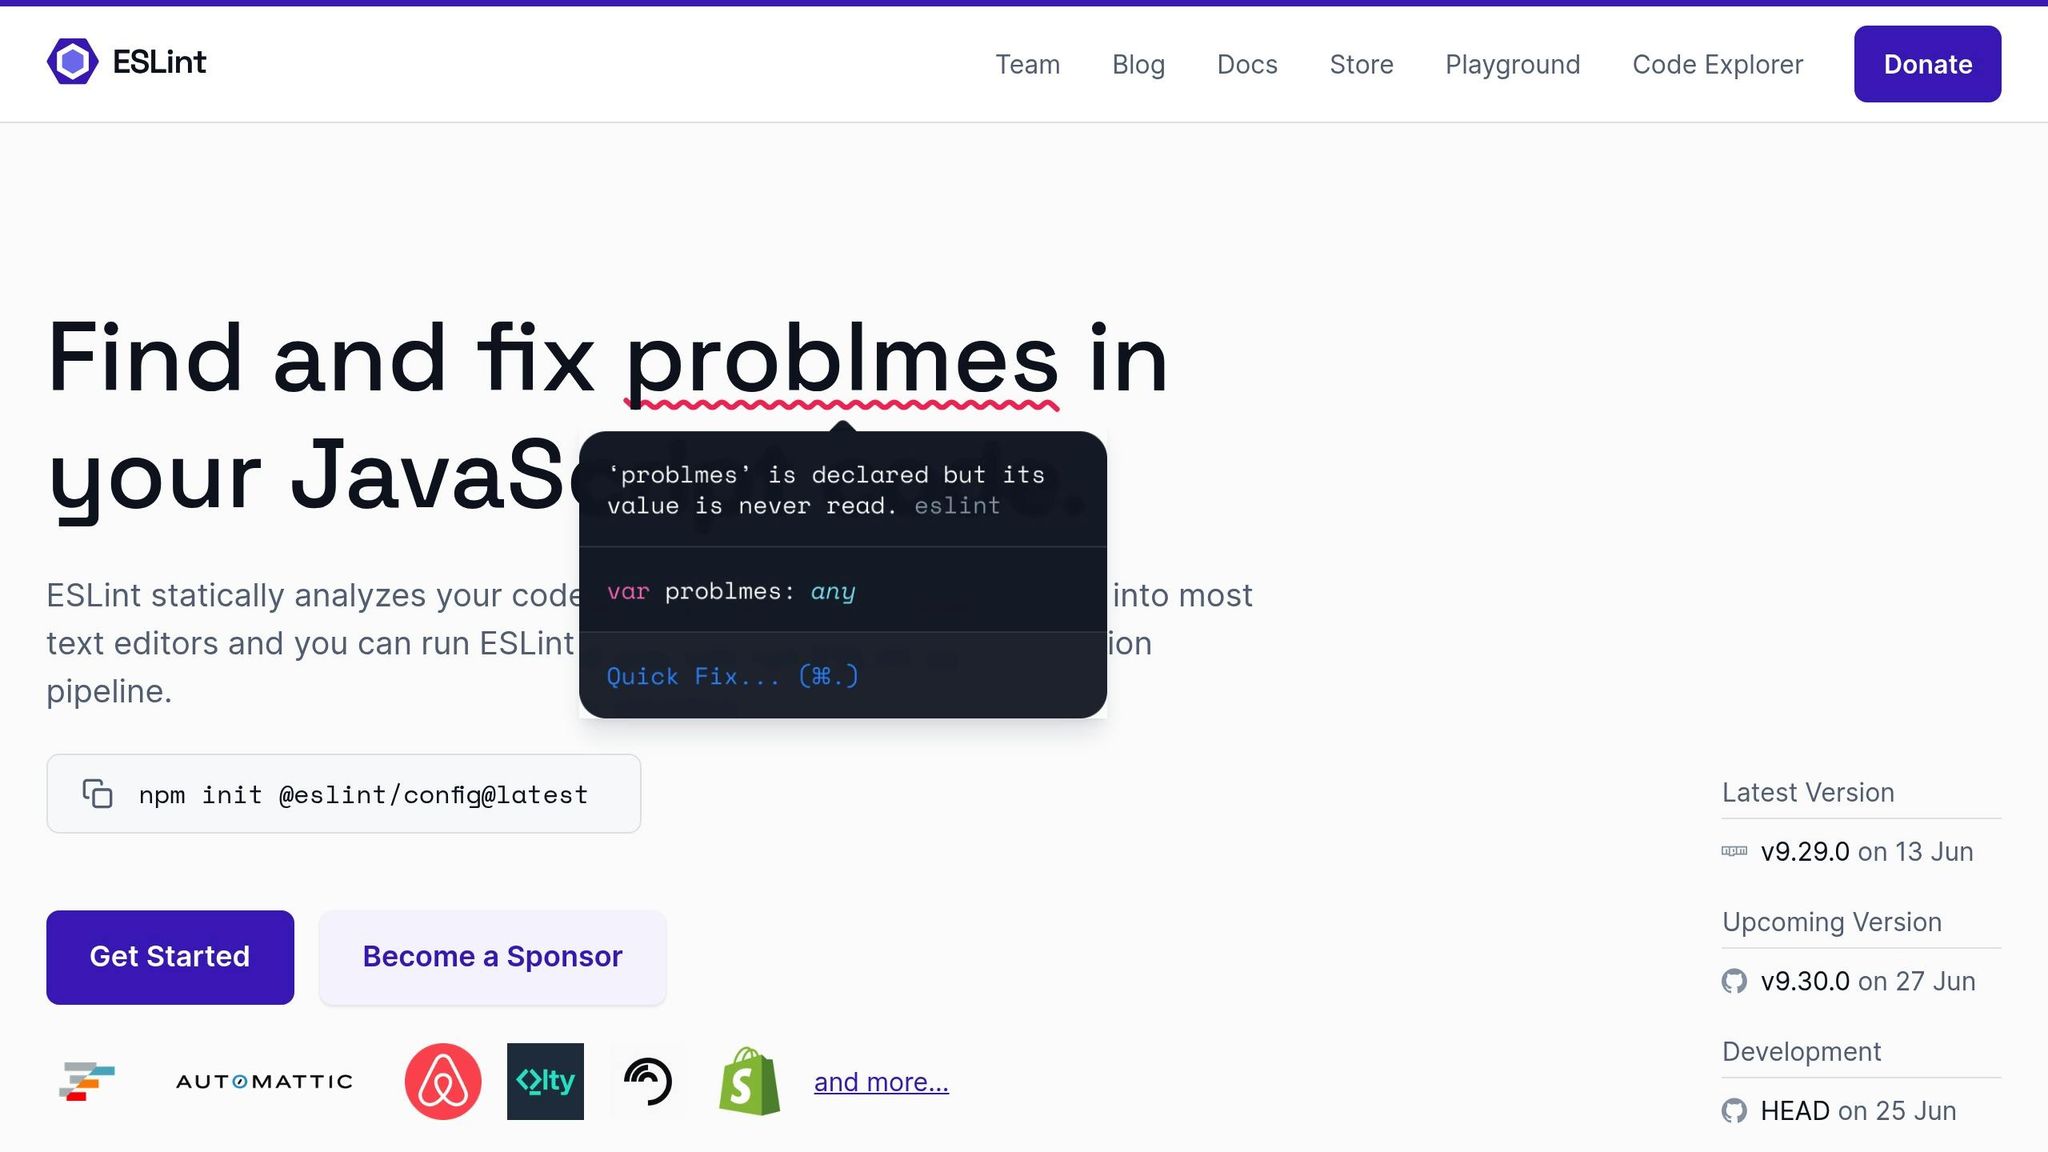
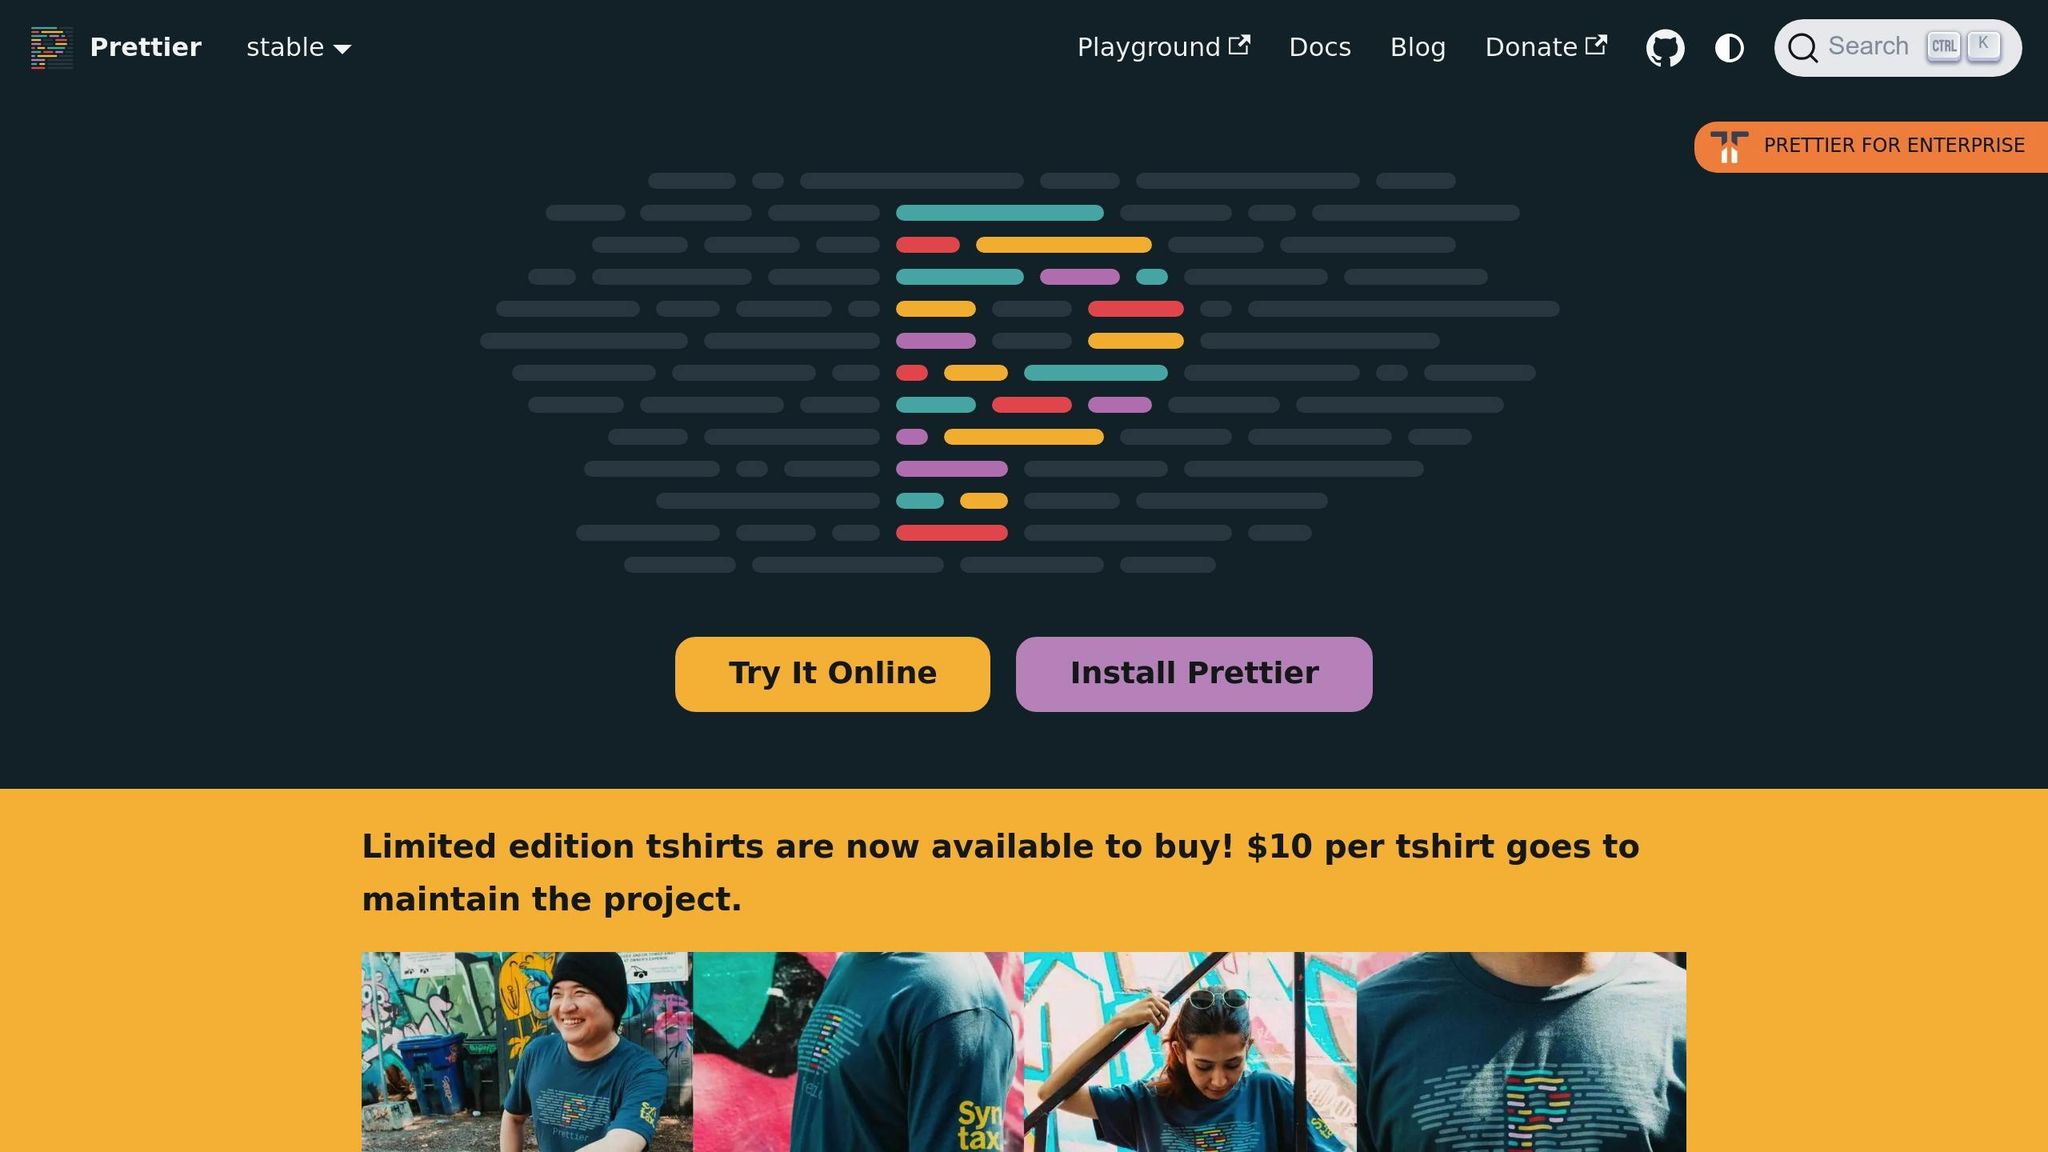
eslint-plugin-react, eslint-plugin-react-hooks, and eslint-plugin-jsx-a11y to handle JSX, hooks, and accessibility..eslintrc.json and .prettierrc for rules and formatting.When it comes to keeping your React code clean and consistent, two tools stand out: ESLint and Prettier. ESLint is a static analysis tool that identifies errors and enforces coding standards in your JavaScript and JSX. Prettier, on the other hand, is a code formatter that ensures your code follows a consistent style.
To make ESLint and Prettier work smoothly together, you'll need a couple of extra packages:
eslint-config-prettier: Disables ESLint rules that conflict with Prettier.eslint-plugin-prettier: Allows Prettier to run as an ESLint rule.Additionally, for React projects, you'll want plugins like eslint-plugin-react, eslint-plugin-react-hooks, and eslint-plugin-jsx-a11y to handle React-specific linting.
Once you have these in place, you'll need to configure ESLint to bring everything together.
Setting up ESLint for your React project is simple, whether you're using Create React App or starting from scratch.
npm init @eslint/config
yarn create @eslint/config
npm install eslint eslint-plugin-react eslint-plugin-react-hooks --save-dev
.eslintrc.json file. Here's a basic example:
{
"extends": [
"eslint:recommended",
"plugin:react/recommended",
"plugin:react-hooks/recommended"
],
"parserOptions": {
"ecmaVersion": 2021,
"sourceType": "module",
"ecmaFeatures": {
"jsx": true
}
},
"env": {
"browser": true,
"es6": true,
"node": true
},
"settings": {
"react": {
"version": "detect"
}
}
}
rules section to enforce or relax specific coding standards based on your project's needs.
package.json with an ESLint script for easier usage:
"scripts": {
"lint": "eslint .",
"lint:src": "eslint src/**/*.{js,jsx}"
}
Now that ESLint is configured, it’s time to integrate it with Prettier.
To avoid conflicts between ESLint and Prettier, it's best to let each tool handle what it does best: Prettier formats the code, and ESLint enforces code quality.
npm install eslint-config-prettier eslint-plugin-prettier --save-dev
.eslintrc.json to include Prettier's recommended settings:
{
"extends": [
"eslint:recommended",
"plugin:react/recommended",
"plugin:react-hooks/recommended",
"plugin:prettier/recommended"
]
}
.prettierrc file to define your formatting preferences. Here's an example:
{
"semi": true,
"trailingComma": "es5",
"singleQuote": true,
"printWidth": 80,
"tabWidth": 2
}
package.json for formatting and fixing linting issues:
"scripts": {
"format": "prettier --write .",
"lint:fix": "eslint . --fix"
}
React-specific linting rules are designed to catch common mistakes and encourage best practices. These rules go beyond standard JavaScript checks by addressing patterns and potential issues unique to React.
Some essential rules include react/jsx-uses-react and react/jsx-uses-vars, which prevent false positives when React or JSX variables seem unused. The react/no-danger rule discourages using dangerouslySetInnerHTML, helping to mitigate XSS vulnerabilities. For prop validation, react/prop-types ensures components define their expected props, while react/no-unused-prop-types flags props that are defined but not used.
When it comes to hooks, rules like react-hooks/rules-of-hooks ensure that hooks are only called at the top level of a function, maintaining proper behavior. The react-hooks/exhaustive-deps rule warns when dependencies are missing in hooks like useEffect or useMemo.
Accessibility is another critical area, and the jsx-a11y plugin helps make applications more inclusive. Rules such as jsx-a11y/alt-text enforce alternative text for images, jsx-a11y/anchor-has-content ensures links are accessible, and jsx-a11y/form-has-label checks that form controls have proper labels.
"Using the rules above will improve your code quality, consistency, and reduce the risk of bugs." - Tim James
In January 2023, Square adopted eslint-plugin-react-hooks and eslint-plugin-jsx-a11y in their React linting setup. This move ensured compliance with Hooks rules and addressed accessibility problems, such as missing alt attributes on images or unlabeled input fields. These changes enhanced both the quality and inclusiveness of their React applications.
To implement these rules effectively, a well-planned configuration is crucial. The jsx-a11y plugin offers both "recommended" and "strict" rule sets, giving teams the flexibility to adjust enforcement levels. Similarly, the React Hooks plugin includes an additionalHooks option for validating custom hooks, but it’s best to use this feature sparingly to avoid overly complex configurations.
Next, consider integrating TypeScript to take your linting strategy to the next level.
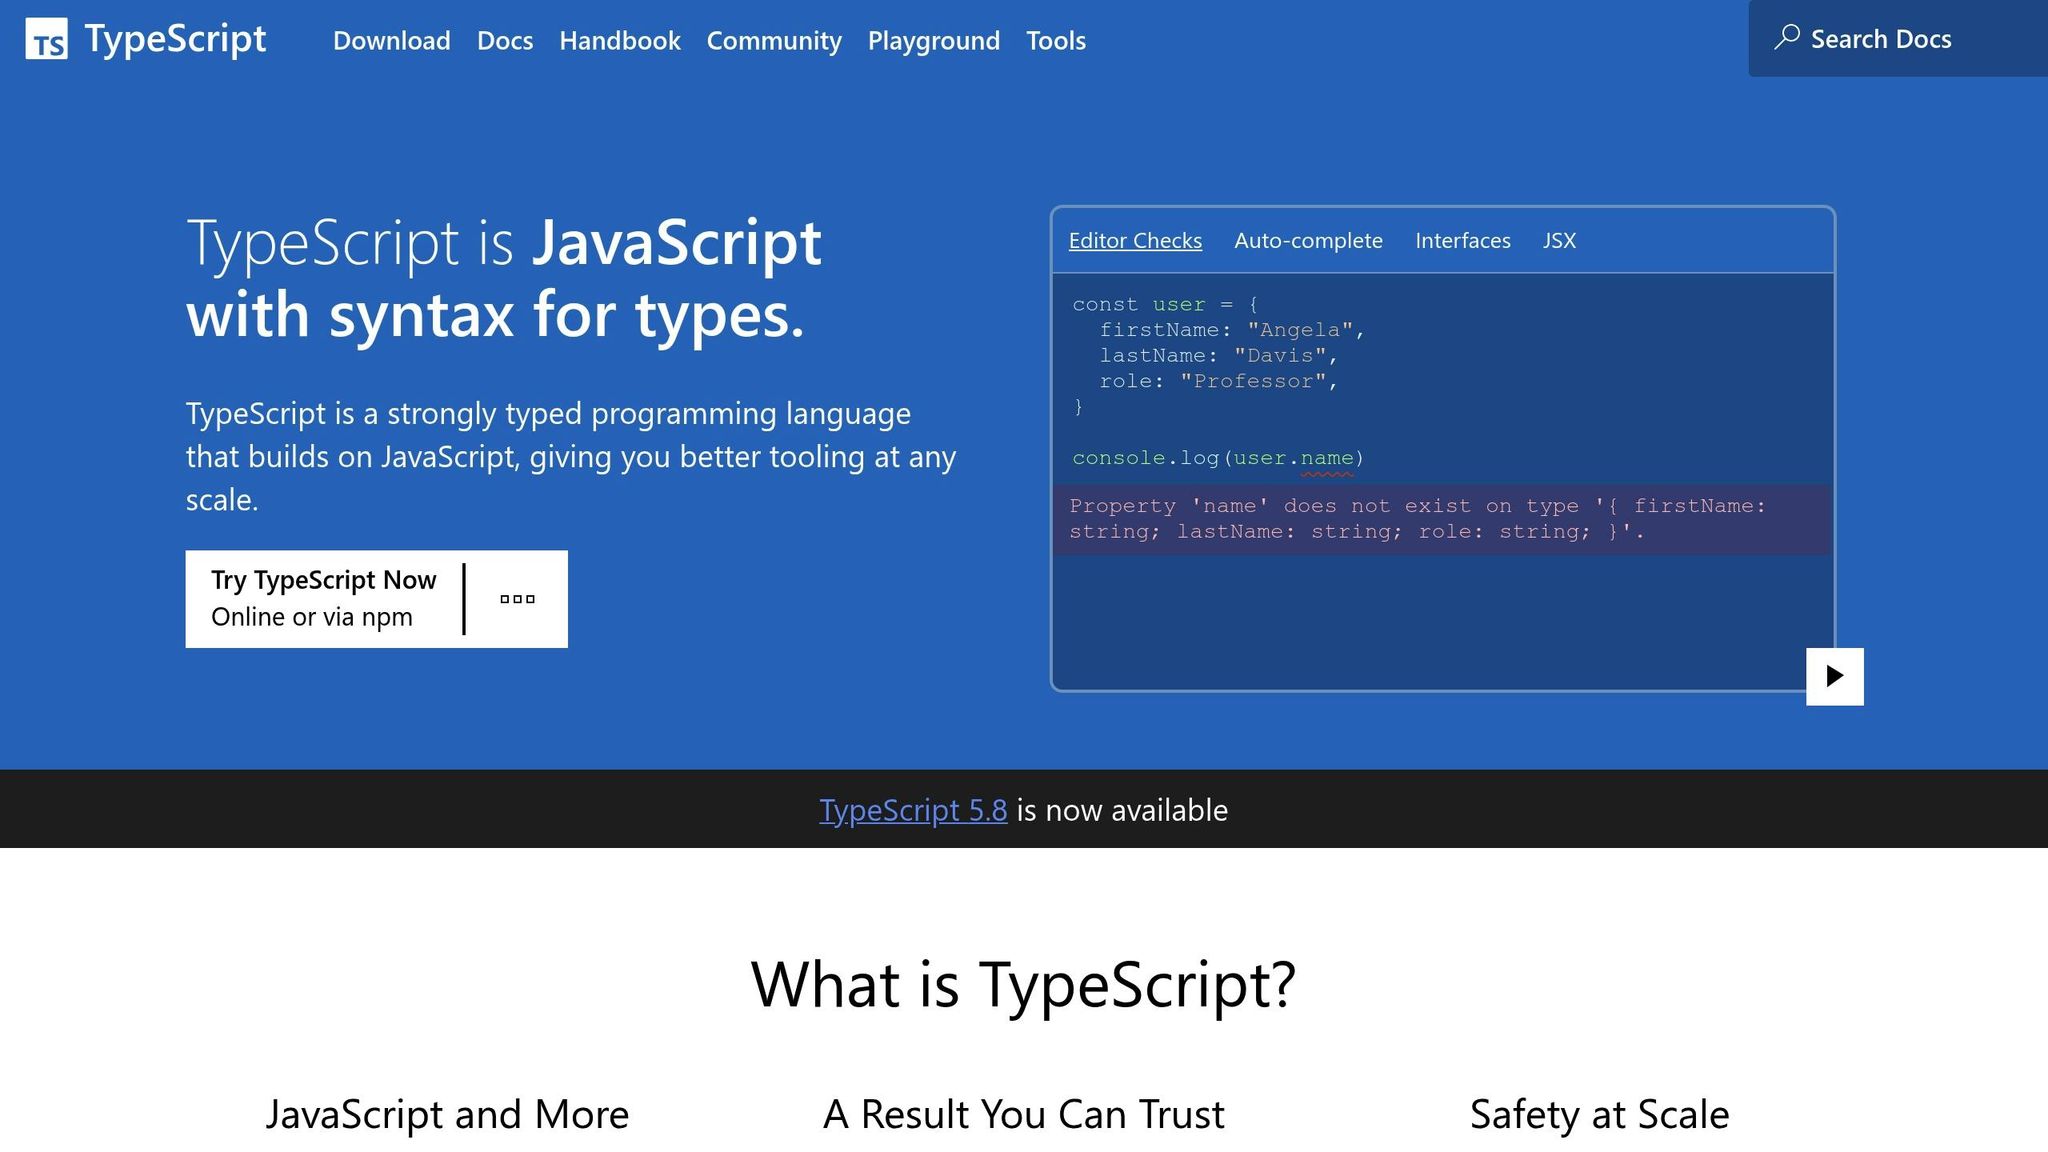
TypeScript adds a layer of type safety to your React code, and combining it with ESLint can significantly improve code quality.
Installation and Setup involves adding the necessary TypeScript ESLint parser and plugin. Use @typescript-eslint/parser to handle TypeScript syntax and @typescript-eslint/eslint-plugin for TypeScript-specific linting rules. These replace the default ESLint parser for .ts and .tsx files.
Here’s an example of a typical .eslintrc.json configuration:
{
"parser": "@typescript-eslint/parser",
"plugins": ["@typescript-eslint"],
"extends": [
"eslint:recommended",
"@typescript-eslint/recommended",
"plugin:react/recommended",
"plugin:react-hooks/recommended"
],
"parserOptions": {
"ecmaVersion": 2021,
"sourceType": "module",
"ecmaFeatures": {
"jsx": true
},
"project": "./tsconfig.json"
}
}
TypeScript-specific rules further refine your code. For example, @typescript-eslint/no-unused-vars detects unused variables more accurately, @typescript-eslint/explicit-function-return-type enforces return type annotations, and @typescript-eslint/no-explicit-any discourages the use of the any type.
Keep in mind that enabling rules requiring type checking (via the project parser option) can impact performance. To maintain a smooth workflow, consider running these rules only in CI/CD pipelines instead of during every file save.
Once TypeScript is set up, you may encounter exceptions or warnings that require fine-tuning.
Managing exceptions effectively ensures that your linting process remains productive without becoming overly restrictive. Occasionally, linters may flag valid code. In such cases, you can use inline disabling or adjust rule severity.
Inline Rule Disabling is a practical way to handle specific cases. For example, if you need to allow console.log in a test file, you can disable the rule like this:
// For debugging purposes
// eslint-disable-next-line no-console
console.log("All tests were executed");
Configuration Adjustments can also help. For instance, when working with APIs that use snake_case for object keys, you can modify the camelcase rule in your .eslintrc file:
{
"rules": {
"camelcase": ["error", { "properties": "never" }]
}
}
To keep exceptions manageable, document inline disable comments and treat them as temporary solutions. Instead of fully disabling a rule, consider lowering its severity from "error" to "warn" for cases that don’t justify a build failure but still deserve attention.
Once you've set up and configured your linting tools, the real challenge is weaving these practices seamlessly into your team's daily workflow. It’s not just about setting rules; it’s about creating a collaborative environment where everyone adheres to the same standards. In React projects, inconsistent linting can lead to avoidable headaches like merge conflicts and uneven code quality. Let’s dive into how shared configurations, automated pipelines, and developer education can streamline your linting processes.
Shared linting configurations act as the backbone of consistency across your team. They serve as a single source of truth, removing ambiguity and ensuring everyone is on the same page. When building a shareable configuration, stick to established naming conventions. For instance, prefix your configuration with something like eslint-config- or use a scoped package name (e.g., @scope/eslint-config). Make sure to declare ESLint as a peer dependency in your package.json file and include any necessary plugins or custom parsers as dependencies.
Here’s an example of what a shared React linting configuration might look like:
{
"name": "@yourcompany/eslint-config-react",
"version": "1.0.0",
"main": "index.js",
"peerDependencies": {
"eslint": "^8.0.0"
},
"dependencies": {
"@typescript-eslint/eslint-plugin": "^5.0.0",
"@typescript-eslint/parser": "^5.0.0",
"eslint-plugin-react": "^7.0.0",
"eslint-plugin-react-hooks": "^4.0.0",
"eslint-plugin-jsx-a11y": "^6.0.0"
},
"keywords": ["eslint", "eslintconfig", "react"]
}
Popular shareable configurations, like those from Airbnb, Facebook, or Google, can also be excellent starting points.
Automating linting checks through CI/CD pipelines ensures every piece of code meets quality standards before it’s merged. Tools like ESLint integrate seamlessly into these pipelines to enforce consistent practices. For example, you can set up a Quality Gate to block non-compliant code from moving forward.
Here’s a sample GitHub Actions configuration for automating linting:
name: Code Quality
on: [push, pull_request]
jobs:
lint:
runs-on: ubuntu-latest
steps:
- uses: actions/checkout@v3
- uses: actions/setup-node@v3
with:
node-version: '18'
- run: npm ci
- run: npm run lint
You can also take it a step further by implementing pre-commit hooks. These hooks can run linting, formatting, and tests on changed files before they’re even pushed, catching issues early and reducing the load on your CI/CD pipeline.
Even the most robust automation won’t work if your team isn’t aligned on linting practices. Developers need to understand not just the rules but also the reasoning behind them. A great way to achieve this is by documenting best practices in a CONTRIBUTING.md file. This document should include:
Well-documented guidelines can reduce onboarding time and improve adherence rates significantly - up to 40% according to some studies. Regular training sessions and knowledge-sharing meetups can help keep the team up to date on new rules, updates to shared configurations, and lessons from recent code reviews. Peer reviews of documentation can further ensure clarity and consistency.
Keeping your React project’s code quality intact as it evolves requires consistent attention to linting. Here’s how to ensure your linting practices remain effective over time.
Maintaining code quality goes hand-in-hand with optimized workflows. Regular updates and automation can help your team stay on track.
To avoid vulnerabilities and ensure peak performance, it’s essential to regularly update your linting tools. Setting up a schedule - whether monthly or quarterly - can help you stay ahead of technical debt.
Automation tools like Dependabot or Renovate can simplify this process by creating pull requests whenever new versions of dependencies are available. This not only saves time but also ensures you’re always running the latest, safest versions. Be sure to review release notes for any updates, and remove unused dependencies to keep your project streamlined and secure.
After updating your dependencies, the next step is enforcing linting standards locally. Pre-commit hooks act as a safeguard, ensuring that only clean, standards-compliant code makes it into your repository. Tools like Husky make managing Git hooks straightforward, and when paired with Lint-Staged, they allow you to focus linting efforts only on the files that have been modified.
Here’s how it works: a developer stages changes, and upon committing, the pre-commit hook runs linting checks. If issues are detected, the commit is blocked, prompting the developer to address the problems before proceeding. Documenting these automated processes, along with any custom rules, helps establish consistent team practices.
Clear documentation is key to maintaining alignment across your team. Include custom rules and coding standards in files like the project’s README or CONTRIBUTING.md. Collaborate with your team to refine these guidelines, ensuring they reflect shared goals and reduce bottlenecks during code reviews.
As Artem Turlenko, a Frontend-Backend Engineer, aptly puts it:
"Effective code quality automation isn't about having the most rules - it's about having the right rules that: Catch real problems before they reach production, Enforce team standards without slowing development, Scale with your codebase and team size, Integrate seamlessly into your workflow."
Adopting effective linting practices can transform React development into a smoother, more predictable process. Studies show that thorough linting not only boosts efficiency but also enhances code quality across critical development metrics.
Linting does more than just catch syntax errors - it can significantly reduce bugs and improve workflow. For example, integrating code evaluation tools has been shown to decrease errors in JavaScript projects by up to 75%. Additionally, using a consistent code format can cut development time by roughly 30%. These advantages lead to faster project completion and more dependable applications.
The benefits extend to performance and team collaboration as well. Applications developed with strict coding standards often see a 50% improvement in load times. Teams report spending 33% less time debugging, and 70% of developers experience productivity gains when using linters. Case studies back this up: companies implementing ESLint report 25% fewer errors during peer reviews and a 40% reduction in post-deployment bugs. Teams that pair ESLint with Prettier also achieve 30% faster onboarding for new developers and a 15% boost in productivity.
Automated linting further optimizes workflows, saving an average of 15 minutes per commit. Over the course of a year, this adds up to around 240 hours saved per developer. These practices create a foundation for scalable, maintainable code throughout the development lifecycle.

At Propelius Technologies, we build on these proven benefits to deliver reliable React development solutions. With over 100 completed projects using React.js and related technologies, we consistently apply rigorous code quality practices, leveraging tools like TypeScript, ESLint, and Prettier.
Our development process incorporates linting at every stage to ensure high-quality, maintainable code. Whether you need end-to-end development through our Turnkey Delivery model or additional team support via our Developer-for-Hire service, we ensure your project adheres to industry-standard linting practices from the very beginning.
When working with React, ESLint and Prettier work hand-in-hand to boost both the quality and consistency of your code. ESLint zeroes in on spotting potential bugs, enforcing coding rules, and promoting best practices. Meanwhile, Prettier takes care of automatic code formatting, ensuring a uniform style throughout your team’s work.
Using these tools together can make your development process smoother. ESLint tackles code quality and logic issues, while Prettier keeps your code visually consistent. This clear division of responsibilities minimizes conflicts, enhances teamwork, and helps create cleaner, more dependable React applications.
When working with React applications, plugins like eslint-plugin-react-hooks and eslint-plugin-jsx-a11y can make a big difference in maintaining quality and consistency in your code.
The eslint-plugin-react-hooks plugin is all about ensuring that React hooks are used correctly. It helps you avoid common pitfalls by enforcing rules, such as checking the dependency arrays in hooks like useEffect. This keeps your code clean and reduces the chance of bugs sneaking in.
On the other hand, eslint-plugin-jsx-a11y focuses on accessibility. It encourages developers to write code that works better for everyone, including users with disabilities. By pointing out accessibility issues, it helps you create apps that are more inclusive while also meeting important accessibility guidelines.
To keep your React project clean and consistent, you can automate linting and formatting by incorporating tools like ESLint and Prettier into your CI/CD pipeline. These tools work behind the scenes to enforce code quality standards, catching issues early in the build process - long before deployment.
Here's how it works: set up your pipeline to include dedicated steps for linting and formatting. ESLint can scan your codebase to identify and flag any rule violations, while Prettier takes care of ensuring a uniform code style. Want to take it a step further? Add a static analysis tool like SonarQube to uncover potential bugs and enforce additional coding rules.
By automating these processes, you can cut down on manual code reviews, maintain consistent quality, and follow best practices for React development - all without breaking a sweat.
Need an expert team to provide digital solutions for your business?
Book A Free CallDive into a wealth of knowledge with our unique articles and resources. Stay informed about the latest trends and best practices in the tech industry.
View All articlesExplore effective patterns and pitfalls of tenant data isolation in multi-tenant systems to enhance security and compliance.
Jul 30, 2025
Read More
Implement these 10 Quality Assurance steps to enhance the reliability and performance of your SaaS application while minimizing bugs and user abandonment.
May 21, 2025
Read More
AI automation is revolutionizing SaaS performance by optimizing costs, enhancing user experiences, and streamlining operations.
May 15, 2025
Read More
Learn effective strategies to debug third-party API errors and maintain application stability while enhancing user experience.
Jul 30, 2025
Read More
Learn how to successfully launch your SaaS MVP in just 90 days by following these critical steps for validation, development, and iteration.
May 16, 2025
Read More
Learn how to safeguard your API backends against rising Man-in-the-Middle attacks through encryption, authentication, and secure network practices.
Jul 30, 2025
Read More
Choosing between a mobile app and a web app for your SaaS product? Explore key factors like cost, user engagement, and development speed.
May 21, 2025
Read More
The IT industry continues to drive innovation and redefine the way businesses operate. In this blog, we explore how IT solutions are transforming industries, enhancing...
May 8, 2025
Read More
When it comes to SaaS (Software as a Service) platforms, one thing is clear: user experience (UX) is everything. At Propellius Technologies, we know that...
May 8, 2025
Read More
Apple faces unprecedented challenges in AI as OpenAI acquires Jony Ive's design team for $6.5B and Google partners with Samsung on Android XR. Can Apple's...
May 22, 2025
Read More
Explore common challenges in SaaS development, including scalability, security, and API integration, along with effective solutions for each.
May 23, 2025
Read More
Learn how to manage concurrency in serverless architectures effectively to enhance performance, reduce costs, and prevent throttling.
Jul 30, 2025
Read More
Trump administration revokes Harvard's ability to enroll international students, impacting 6,800 students and threatening Silicon Valley's talent pipeline. Analysis of implications for US tech leadership.
May 23, 2025
Read More
Explore the top cloud solutions that optimize scalability, security, and cost for modern SaaS architecture, helping businesses thrive in the cloud.
May 23, 2025
Read More
You know how the internet has become such a big part of our lives? Well, the way we use it has changed a lot over...
May 8, 2025
Read More
Learn how staff augmentation can help tech startups save costs, access global talent, and scale teams quickly for efficient growth.
May 26, 2025
Read More
In the digital age, eCommerce has become a cornerstone of the global retail landscape. The low barriers to entry and the promise of reaching a...
May 8, 2025
Read More
Learn how Atomic Design enhances React component organization by breaking down UIs into reusable, scalable pieces while navigating common challenges.
Jun 6, 2025
Read More
AI is revolutionizing how brands communicate. In this article, we dive into how Phrasee, a leader in AI-powered brand language generation, is enabling marketing teams...
Jun 6, 2025
Read More
Effective onboarding of augmented developers in Agile teams boosts productivity and retention through preparation, structured processes, and continuous feedback.
Jun 5, 2025
Read More
Selecting the right tech stack for your MVP is crucial for startup success, impacting costs, scalability, and development speed.
Jun 5, 2025
Read More
Learn key strategies for scaling your SaaS product from MVP to enterprise level, focusing on architecture, performance, security, and cloud optimization.
May 26, 2025
Read More
Explore seven human-centered design principles that can transform your MVP into a user-centric product that resonates and drives success.
Jun 9, 2025
Read More
Optimize memory usage in AI workflows to cut costs and enhance performance with effective strategies and tools for better resource management.
May 29, 2025
Read More
Explore the essential UI/UX best practices for SaaS applications in 2025, focusing on personalization, accessibility, and innovative input methods.
May 26, 2025
Read More
Learn how a 90-day MVP sprint can minimize risk, cut costs, and ensure a successful product launch through rapid validation and user feedback.
May 30, 2025
Read MoreOptimize real-time streaming with effective data compression techniques that reduce latency and enhance performance across various industries.
Jun 17, 2025
Read More
Explore the strengths and weaknesses of Supabase and Firebase for real-time collaboration tools, focusing on scalability, performance, and developer experience.
Jun 6, 2025
Read More
Explore the differences between two leading platforms for MVP scaling, focusing on their database structures, pricing, security, and performance.
Jun 5, 2025
Read More
Learn how Test-Driven Development (TDD) can enhance the reliability and maintainability of React applications through structured testing.
Jun 6, 2025
Read More
Learn how to effectively balance technical debt with innovation to ensure sustainable growth and maintain a competitive edge in your startup.
May 29, 2025
Read More
Learn how to foster a thriving knowledge-sharing culture in remote teams through psychological safety, technology, and effective communication.
Jun 6, 2025
Read More
A complete guide to choosing the right mobile app development company—covering expertise, transparency, UX focus, agile methods, and long-term partnerships to ensure your app succeeds...
Jun 12, 2025
Read More
Explore effective caching strategies for dependency management that enhance build performance and reduce costs in software development.
Jul 29, 2025
Read More
Unlock your system's performance potential by effectively analyzing logs to identify bottlenecks and optimize operations.
Jun 17, 2025
Read More
Explore essential practices for checkpointing in stream processing to ensure data integrity, fault tolerance, and efficient recovery from failures.
Jun 9, 2025
Read More
Learn how to effectively use a popular JavaScript library for mocking and stubbing in tests, enhancing reliability and speed in your development process.
Jun 9, 2025
Read More
Learn how to effectively automate regression testing in CI/CD pipelines to enhance software reliability and speed up development.
Jun 17, 2025
Read More
Learn essential best practices for managing secrets in CI/CD pipelines to protect sensitive data and enhance security against breaches.
Jun 6, 2025
Read More
Explore how Agile roles enhance MVP development by fostering collaboration, speeding up delivery, and ensuring products meet user needs.
Jun 11, 2025
Read More
Explore how manual testing enabled startups to launch high-quality MVPs in just 90 days, ensuring speed without sacrificing user experience.
Jun 6, 2025
Read More
AI-driven predictive scaling enhances resource management in DevOps by forecasting demand, reducing costs, and ensuring system reliability.
Jul 29, 2025
Read More
Learn how to effectively scan and fix vulnerabilities in React and Node.js projects to ensure secure applications and safeguard against risks.
Jun 17, 2025
Read More
Agile sprints streamline MVP development, enabling rapid iterations, user feedback integration, and efficient project management for startups.
Jun 17, 2025
Read More
Aligning designers and developers through shared standards and effective collaboration can drastically improve efficiency and product quality.
Jun 11, 2025
Read More
Align your teams for faster MVP sprints by creating a shared vision, setting collaborative KPIs, and leveraging effective workflows.
Jul 29, 2025
Read More
Explore essential best practices for regression testing in DevOps, ensuring software stability and quality amid rapid development cycles.
Jul 29, 2025
Read More
Learn how to create an effective shared knowledge base that enhances team collaboration, boosts productivity, and maintains security.
Jul 30, 2025
Read MoreLearn how to leverage Figma for effective design system collaboration, enhancing team workflows and ensuring consistent design practices.
Jul 30, 2025
Read More
Explore how a financial startup launched a minimum viable product in just 90 days through collaborative prototyping and user feedback.
Jul 29, 2025
Read More
Explore how automated load balancing enhances cloud app performance, reduces costs, and ensures reliability during traffic spikes.
Jul 30, 2025
Read MoreGet in Touch
Let's Make It Happen
Get Your Free Quote Today!

Get in Touch
Let's Make It Happen
Get Your Free Quote Today!

You bring the vision. We handle the build.